Arranging a gallery wall on the floor lets you move the composition without turning the wall into a patchwork of trial holes. Use the actual frames where possible, because mats, frame widths, and glass reflections affect the result as much as the images.
Establish the area the group will occupy
Measure the available wall and the furniture beneath it. Mark a corresponding area on the floor with a material suitable for the surface. Include nearby switches, lamps, door trim, and other elements that the artwork must coexist with.
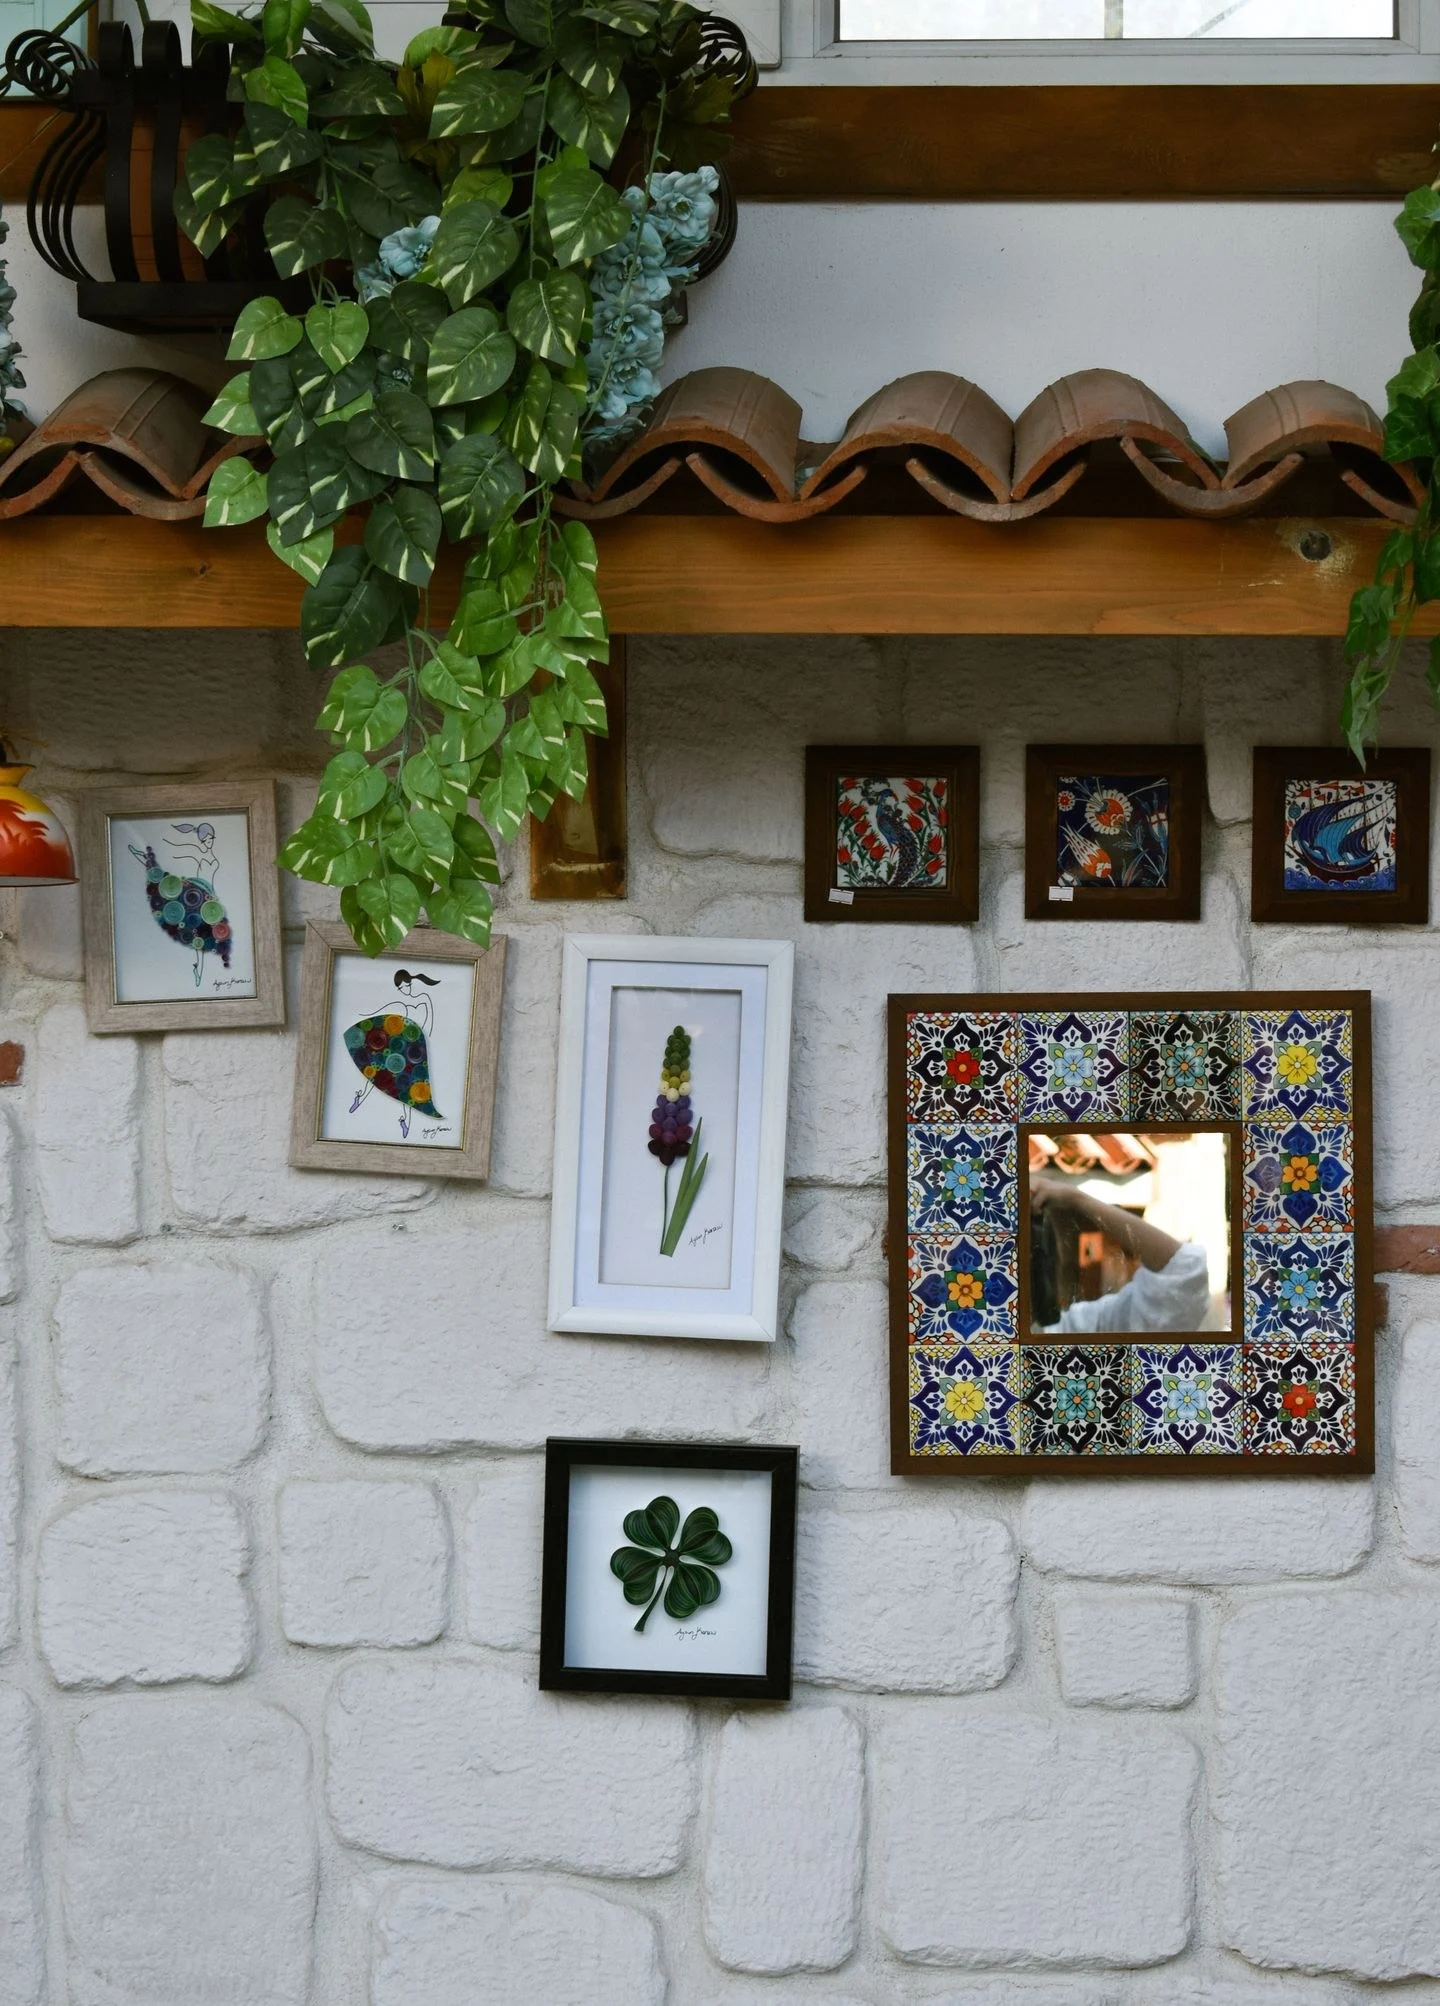
Choose the group's broad shape before adjusting individual gaps. It might be a loose rectangle, a row, or a cluster that grows from one substantial piece. A clear outer shape can make different frame styles feel related without requiring identical spacing everywhere.
Place the visual anchors first
Start with the largest or most visually prominent work. A dark image in a heavy frame may carry more weight than a larger pale print, so judge presence rather than size alone. Add the next substantial piece in a position that balances it, then use smaller works to connect the group.
Avoid distributing every small frame evenly around the perimeter. That can make the arrangement feel like a border around an empty center. Let some smaller pieces form their own pair or subgroup. Leave enough space for each work to remain readable.
Frame finishes can vary, but identify a relationship: similar wood tones, repeated black, or a shared mat color. The artwork itself may provide the connection, in which case the frames can remain quieter. Do not replace meaningful pieces solely because they break a strict color scheme.
Transfer the whole arrangement
Trace the outside of each frame onto paper and label it. Position the paper templates on the wall with a removable method appropriate to the paint or finish. Photograph the arrangement and look at it from the room's normal viewing positions. The floor layout is a start, but the wall changes the perspective.
Check height while seated if the gallery is above a sofa or dining area. A group can be pleasing at standing eye level and feel remote from the furniture below. Move the templates as a group before changing every internal gap.
Install for the actual weight
Use hanging hardware suitable for each frame and the wall construction. Follow the hardware's instructions and load limits, and obtain professional help for heavy pieces or uncertain walls. Adhesive products are not interchangeable with mechanical fixings and must be used only within their stated conditions.
Measure the hanging points on the back of the frames rather than assuming they align with the top edge. Use the templates to record those positions, but verify them before installing. Keep the work area clear and protect fragile artwork while handling it.
Once hung, give the arrangement a few days before adding more. A gallery wall does not need to fill every available inch, and a deliberate gap can make future additions easier. The strongest group lets the individual works remain enjoyable while reading as one considered part of the room.